

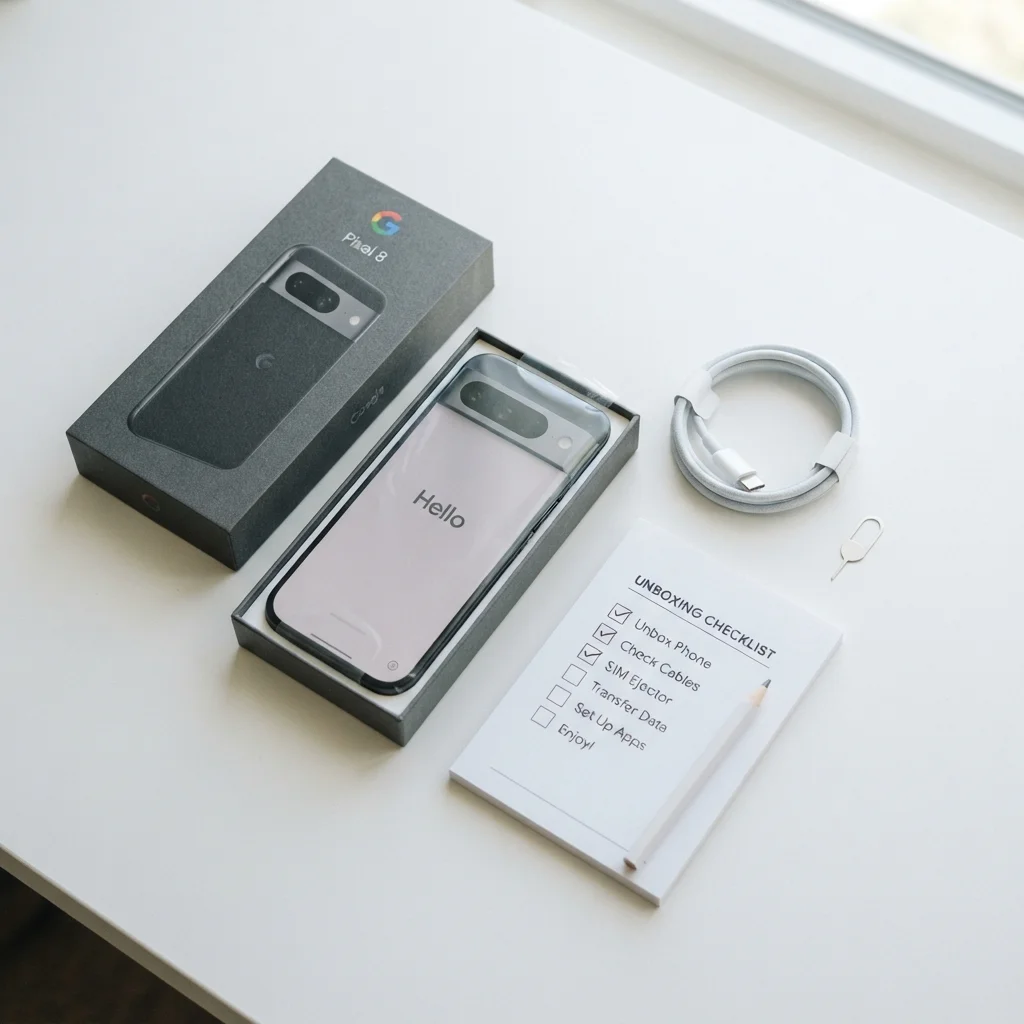
Summary
18 items · 20–45 minutes
Why Pre-Setup Steps Matter More Than You Think
Tearing open a new phone's packaging is satisfying, but the first 30–45 minutes of setup have an outsized impact on long-term security, performance, and peace of mind. Skipping a few key steps early means scrambling to fix them later — sometimes after your return window has closed.
This checklist walks you through everything worth verifying before you migrate your apps, contacts, and photos onto a new device. Whether you're switching platforms or upgrading within the same ecosystem, the same principles apply. If your new phone is also going to connect to a broader smart home setup, see our guide to getting smart home devices online without the frustration for what to handle there separately.
Stay Within Your Return Window
Most retailers offer a return or exchange window of 14–30 days for new devices. Complete your physical and display inspection on day one — not day ten. If you discover a manufacturing defect after the window closes, your only recourse is typically a warranty claim, which involves longer turnaround times and may not cover cosmetic issues.
What You'll Need Before You Start
Gather these items before opening the box so the process stays uninterrupted:
Your current phone
Used to run a final backup and reference your account credentials and carrier account details during setup.
Wi-Fi network credentials
Required to download software updates and complete cloud account sign-in during initial setup.
SIM ejector tool
Used to install a physical SIM card; typically included in the phone's retail box.
Password manager or credential notes
Needed to sign in to your platform account, email, and any apps you plan to restore.
Carrier account login
Required if activating an eSIM or transferring your existing number to the new device.
Solid-color display test image
A plain white or black image viewed full-screen helps identify dead pixels or backlight issues on the display.
Having your carrier account credentials and current phone nearby makes SIM activation, number transfer, and data backup significantly smoother.
The Full Pre-Setup Checklist
Work through each group in order. The physical inspection comes first — if the device has damage you didn't cause, document it immediately before touching anything else.
Physical Inspection
Display and Hardware Verification
SIM and Network Setup
Software Updates and Security
Backup and Data Configuration
Don't Restore a Backup Before Updating
Restoring your data from a cloud or local backup before installing software updates can introduce known vulnerabilities into an already-populated device. Always update the operating system to its latest version first, then restore contacts, apps, and settings. This sequence takes only a few extra minutes but meaningfully reduces your exposure to patched security flaws.
Once hardware is confirmed and software is updated, spend a few minutes in your carrier's settings to verify VoLTE (Voice over LTE, which enables HD calling over data networks) and Wi-Fi calling are enabled if your plan supports them. These settings occasionally reset during carrier activation on a new device.
Don't Overlook Privacy and Account Security
A new device is the ideal moment to audit which apps have access to your location, microphone, and camera. Most operating systems present a permission summary during first-run setup — read each prompt rather than tapping through. Enabling two-factor authentication (2FA) on your primary accounts, especially email and your app store account, closes the most common entry point for unauthorized access.
If you're budget-conscious about what you spend on accessories and protection plans alongside a new phone, our monthly budget setup checklist is a practical companion for mapping those new recurring costs. And if this phone is joining a growing connected home, the questions in Before You Add Another Smart Device are worth reviewing before you start linking accounts.
This article is for general informational purposes only. Device features, carrier policies, and software behavior vary by manufacturer, model, and region. Consult your carrier or device manufacturer for guidance specific to your situation.
The content on this site is for informational purposes only and is not a substitute for professional advice. Always consult a qualified professional for guidance specific to your situation.