

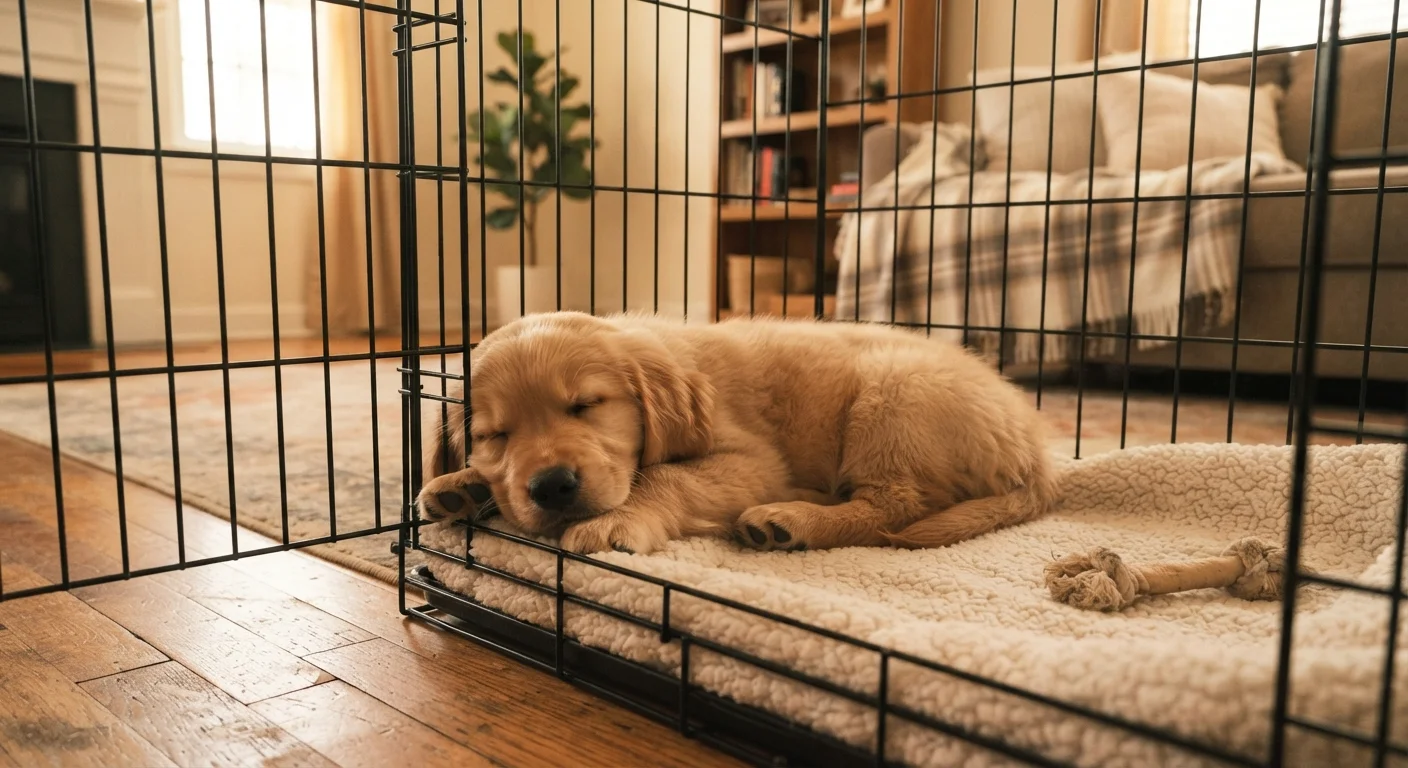
Why Crate Training Is Worth the Investment
Dogs are descended from animals that naturally seek enclosed, den-like spaces for rest and security. A crate, introduced correctly, mimics that instinct — giving your dog a predictable retreat that belongs entirely to them. Far from being a confinement tool, a well-associated crate becomes the place your dog chooses voluntarily when overwhelmed, tired, or simply ready to settle.
Beyond comfort, crate training has practical benefits that extend across your dog's entire life. It supports house-training by leveraging your dog's reluctance to soil their resting space. It creates a safe option during travel, veterinary recovery, or when guests visit. And for dogs with developing anxiety, having a defined, calming space is a meaningful part of a broader support strategy — something explored in detail in our guide to separation anxiety in dogs.
The process does require patience. Dogs that associate crates with confinement or punishment resist them reliably. Those introduced through the graduated, positive approach described here often develop a genuine preference for the space. Understanding the difference in outcomes starts with understanding your dog's emotional signals — our guide to reading your dog's body language can help you interpret what your dog is communicating during each training stage.
What you will need
What You'll Need Before You Start
Choosing the right crate size is the single most consequential preparation decision. A crate that is too large allows a dog to soil one end and sleep in the other, which undermines house-training. A crate that is too small causes physical discomfort and frustration. Your dog should be able to stand fully upright, turn a complete circle, and lie stretched out — and nothing more spacious than that during early training.
Wire crates offer ventilation and visibility, which some dogs prefer. Plastic travel-style crates offer a more enclosed, den-like feel that others find more calming. Neither is universally superior — observe your dog's response and adjust accordingly.
Wire or plastic dog crate
Provides the primary contained space your dog will learn to associate with rest and safety.
Soft crate mat or blanket
Makes the crate interior comfortable and helps your dog settle more easily.
High-value training treats
Used to reward calm, voluntary entry and time spent inside the crate.
Chew toy or food-stuffed puzzle toy
Gives the dog something to do inside the crate, reinforcing it as an enjoyable place.
Crate cover or blanket
Draping three sides of a wire crate creates a more den-like, enclosed feeling many dogs prefer.
Once your setup is ready, weave crate training into a consistent daily structure. Dogs thrive on predictability, and building a care routine that actually sticks makes each training session easier because your dog already knows what to expect from the day around it.
Step-by-Step Crate Training Process
The following steps are designed to be worked through sequentially. Each stage should feel comfortable and low-stress before you advance. There is no fixed timeline — some dogs progress through all stages in a week; others take several weeks. Both are normal. Regression is also normal after disruptions like travel, illness, or a new household member. If that occurs, simply return to an earlier step without frustration.
Never Use the Crate as Punishment
Sending your dog to the crate after undesired behavior permanently damages its association as a safe space. If your dog connects the crate with negative events, undoing that association takes far longer than training it correctly from the start. Keep every crate interaction positive and voluntary, especially in the early stages.
Set Up the Crate and Let Your Dog Investigate Freely
Place the crate in a room where your family spends time — isolation makes the space feel like exile. Open the door fully, toss a few treats near the entrance, and step back. Allow your dog to sniff and investigate at their own pace without any guidance or encouragement from you. This passive introduction removes pressure and lets curiosity do the work.
Encourage Voluntary Entry With Treats and Praise
Begin tossing treats progressively closer to the crate opening, then just inside the doorway, then further toward the back. Use a calm, upbeat verbal marker — such as "yes" — the moment your dog steps inside, then reward immediately. Do not close the door during this step. Repeat over several short sessions of five to ten minutes until your dog enters without hesitation.
Introduce Meals Inside the Crate
Once your dog enters willingly, begin placing their food bowl just inside the door during regular mealtimes. Over three to five days, move the bowl progressively further inside until your dog eats comfortably at the back of the crate. After each meal, allow your dog to walk out freely — do not close the door yet.
Close the Door Briefly While Your Dog Eats
Once your dog eats full meals with the bowl at the back of the crate, close the door quietly while they eat and open it as soon as they finish. Over the following days, extend the closed-door period by a few minutes at a time after the meal ends. Stay in the room, remain calm, and open the door before any whining or scratching begins.
Build Duration in Gradual Increments
With the door-closing association established, begin crating your dog for short periods while you remain at home. Use your entry cue, reward entry with a treat or toy, close the door, and sit nearby doing something calm. Start with five to ten minutes, extend gradually to 30 minutes, then longer. Only move to the next stage — leaving the house — once your dog rests quietly for 30 minutes without distress.
Practice Departures and Nighttime Crating
Begin leaving the house for short intervals — five minutes, then 15, then an hour — crating your dog as you go. Keep departures and arrivals low-key; enthusiasm on return teaches your dog that your absence is dramatic. For nighttime crating, place the crate in or near your bedroom initially; proximity reduces anxiety. Gradually move the crate to your preferred location over one to two weeks if needed.
Feed Meals Near and Inside the Crate
Placing your dog's food bowl just inside the crate door — then progressively further inside over several sessions — builds a powerful positive association without any formal training pressure. Mealtimes are predictable, calming, and high-value, making them one of the most effective tools in your crate-introduction toolkit.
Troubleshooting Common Crate Training Challenges
Persistent whining or barking: First, rule out a genuine need — does your dog need a bathroom break, water, or relief from discomfort? If the answer is no and your dog is whining to be released, wait for a pause in vocalization before opening the door. Opening the door during active whining teaches your dog that whining is an effective exit strategy. Stay calm and patient.
Refusal to enter: Return to step one. Remove all pressure and allow your dog to rediscover the crate on their own terms. Check that the crate isn't positioned near loud appliances, drafts, or high-traffic areas that may feel threatening.
Older or senior dogs: Crate training is not exclusively for puppies. Senior dogs can learn new crate associations, though they may require more time and softer bedding to accommodate joint stiffness. Our senior dog care guide outlines how to adapt routines — including rest environments — as dogs age.
Time Limits Matter for Puppies
Puppies under six months cannot hold their bladders for more than a few hours, and extended crating causes both physical discomfort and emotional distress. As a general guideline, a puppy's maximum crate time in hours roughly equals their age in months plus one — but always observe your individual dog. Consult your veterinarian if you're unsure what duration is appropriate for your dog's age and health.
This article is for general informational and educational purposes only. It is not a substitute for professional veterinary or behavioral advice. If your dog shows signs of significant distress, aggression, or anxiety around crating, consult a licensed veterinarian or certified applied animal behaviorist.
The content on this site is for informational purposes only and is not a substitute for professional advice. Always consult a qualified professional for guidance specific to your situation.