

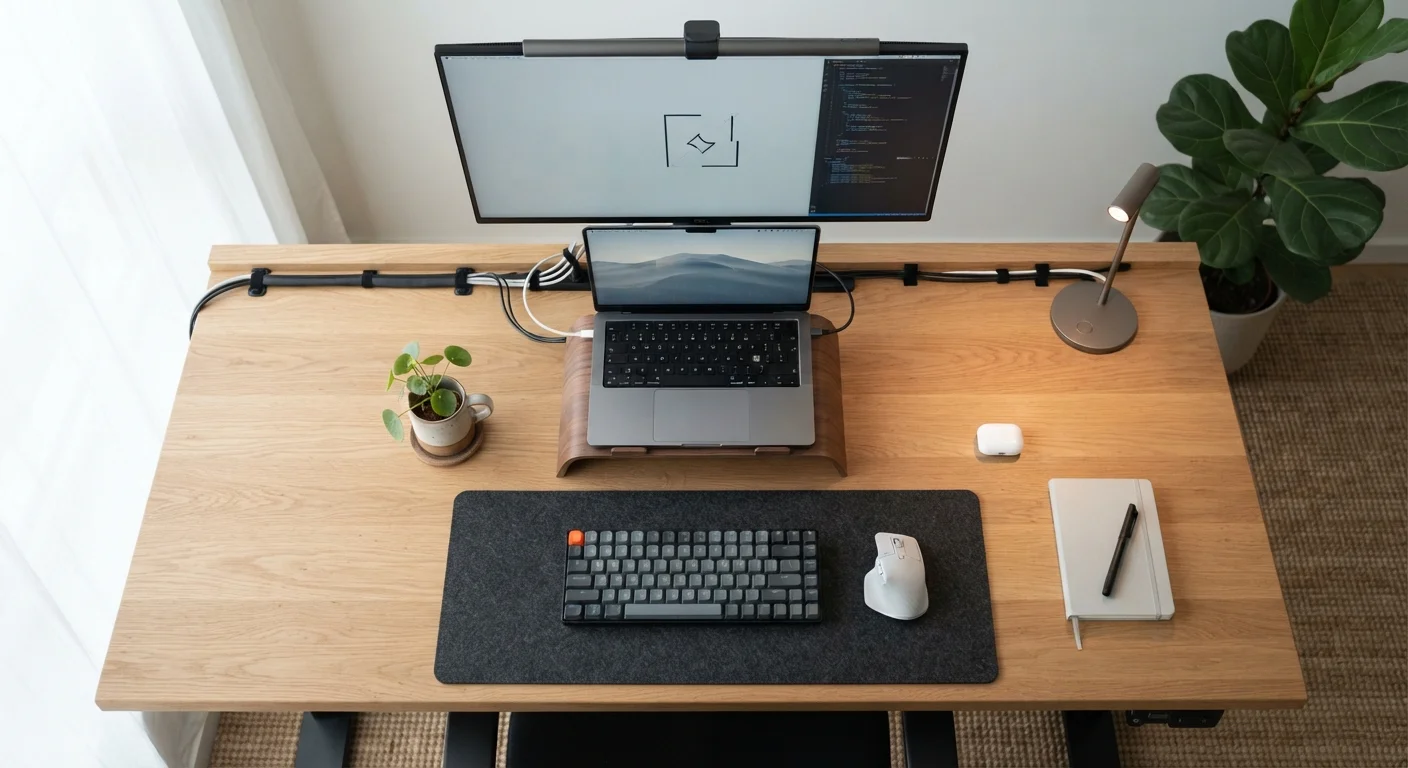
Why Cable Chaos Is More Than an Eyesore
A tangled mess of cables behind your desk isn't just visually distracting — it creates real functional problems. Cables that cross and loop unpredictably are harder to trace when something stops working, more likely to snag on furniture or feet, and can restrict airflow around devices that generate heat. If you're building or refining a productive home workspace, cable organization belongs on the priority list alongside lighting and seating. For a broader look at what makes a home office genuinely functional, see The Anatomy of a Productive Home Office.
The good news: you don't need to gut your setup or spend heavily to make a meaningful improvement. A methodical approach — audit first, then route, then label, then secure — produces results that hold up over time.
What you will need
Tools and Materials That Actually Help
Before you start pulling cables out, gather a basic kit. The right tools make the process faster and the results more durable.
Velcro cable ties
Bundle multiple cables together into clean, manageable groups without damaging cable insulation.
Adhesive cable clips
Mount to the underside of a desk or along a wall to hold routed cables in a fixed path.
Cable sleeves or braided wrap
Encase multiple cables running the same route into a single neat bundle, reducing visual clutter.
Label maker or masking tape with marker
Create permanent, readable labels at both ends of each cable so you can identify connections at a glance.
Under-desk cable tray
Mounts beneath the desk surface to hold a power strip and cable bundles out of sight.
Cable pass-through grommets
Fit into desk cutouts to route cables cleanly from the desktop down to floor-level power sources.
If you're weighing whether to reduce cable count entirely by switching to wireless peripherals, it's worth reviewing the real trade-offs first. Wired vs. Wireless Peripherals breaks down the practical differences so you can decide what makes sense for your workflow.
Step-by-Step: Routing and Securing Your Cables
Work through the following steps in order. Skipping the audit phase — even when you're eager to start tidying — almost always leads to redoing work later.
Audit every cable currently in use
Unplug everything from power (but leave device connections intact where possible so you can trace them). Lay each cable flat and identify where it starts, where it ends, and whether it's actively in use. Remove any cables for devices you no longer own or use — orphaned cables are a primary source of clutter.
Label both ends of every cable
Before re-routing anything, label each cable at both ends. Use a label maker, flag labels, or small strips of masking tape marked with a permanent marker. Use short, descriptive labels: Monitor 1 Power, USB Hub, Ethernet — Router. Labeling now saves significant time whenever you need to swap or troubleshoot a connection later.
Plan your routing paths before attaching anything
Decide on the paths cables will travel — typically along desk edges, down a single desk leg, and across the floor in a cable channel or under a rug edge to the wall outlet. Group cables that travel the same route together. Avoid routing cables across high-traffic floor areas where they can be tripped over or damaged by chair wheels.
Bundle and route grouped cables
Use velcro ties (not zip ties, which can over-tighten and damage cables) to bundle cables that share a route. Leave enough slack at each end for comfortable connection and disconnection — bundles that are too tight make future changes difficult. Feed bundles along your planned path, attaching adhesive clips at regular intervals to hold them in place.
Secure the power strip and consolidate power cables
Mount your power strip to the underside of the desk using an under-desk cable tray or the strip's own mounting slots if available. This removes the power brick from the floor and shortens the distance power cables need to travel. Group device power cables together in the same bundle where they run parallel, and route the single main cord from the strip down the desk leg to the wall outlet.
Do a final review and test all connections
Restore power and verify that every device connects and functions correctly. Walk around the desk and check that no cables are pinched under furniture legs, pulled taut, or at risk of snagging. Adjust any runs that look stressed. Take an after photo to document your clean configuration — it's useful for reference during future changes.
Start Simple — Add Complexity Later
If this is your first time organizing cables, focus on labeling and basic bundling before investing in trays, sleeves, or grommets. A few velcro ties and adhesive clips will eliminate the majority of visible clutter. Specialized products add polish and are worth adding once you're confident in your layout.
Maintaining Your System Over Time
Cable organization isn't a one-time project. Every time you add a monitor, swap a peripheral, or move your desk, the system needs a quick review. Build the habit of re-bundling and re-labeling whenever anything changes, rather than letting exceptions accumulate into a new tangle.
If your workspace is space-constrained, routing options may be limited — but the same principles apply. Small-Space Home Office Solutions covers how to make these strategies work in compact or shared environments. And if you're planning a full workspace overhaul, the Home Office Planning Checklist is a useful starting point before you commit to any layout.
Don't Overtighten Bundles Near Power Cables
Excessive compression on power cables — especially when bundled tightly with velcro ties or enclosed in sleeves — can trap heat and, over time, stress the insulation. Keep power cables loosely bundled with adequate airflow, and never coil an AC adapter cable tightly around the adapter itself during regular use.
The content on this site is for informational purposes only and is not a substitute for professional advice. Always consult a qualified professional for guidance specific to your situation.