

Summary
18 items · 20–35 minutes to review and prepare
Why At-Home Hair Color Goes Wrong
At-home hair color is one of the most commonly attempted DIY beauty tasks in America — and one of the most frequently botched. The failures rarely come from low-quality products. They come from skipping foundational steps that professional colorists treat as non-negotiable.
Understanding a few key technical principles — developer volume, porosity, timing, and lift limits — puts you in a much stronger position before you open a box. This checklist walks through everything you should verify before applying color at home.
It's also worth noting that the health of your scalp plays a direct role in how color takes and whether your hair remains in good condition afterward. See our guide to scalp-first hair care for context on why this matters before you color.
Don't Skip the Patch Test — Even If You've Colored Before
Allergic sensitization to para-phenylenediamine (PPD), a common hair dye ingredient, can develop over time — meaning someone who colored without issue before may react to the same formula later. A 48-hour patch test before every coloring session is not excessive caution; it's standard professional practice. Reactions can range from mild contact dermatitis to more serious responses requiring medical attention.
Previously Colored Hair Has Different Needs
Applying color to hair that still has active dye on the ends — especially a lighter formula over a darker one, or vice versa — can cause uneven results, banding, or breakage. Assess the condition and existing color throughout the entire length of your hair before mixing anything.
Tools and Supplies You Need
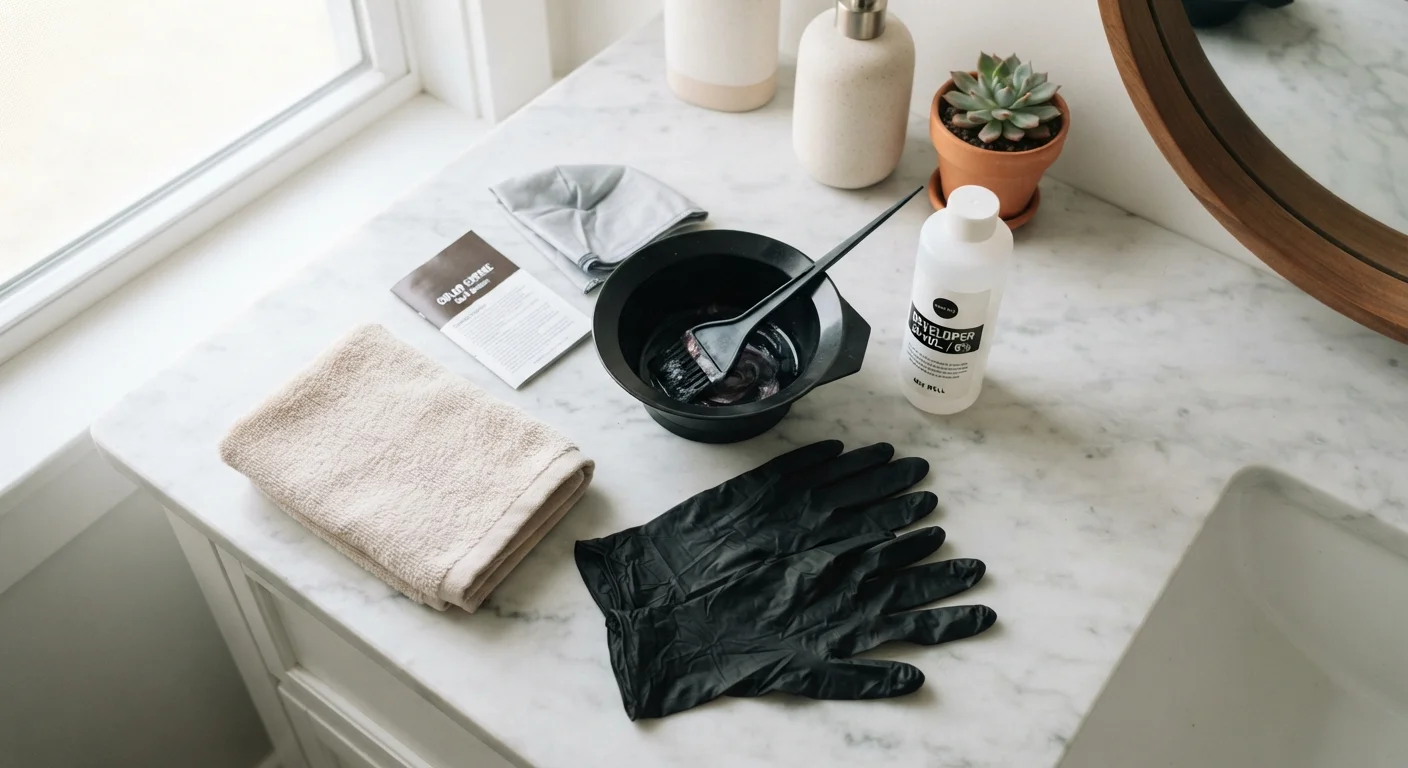
Before reviewing the checklist itself, confirm you have the right materials in hand. Improvising with household substitutes during the coloring process — using a kitchen bowl instead of a non-metallic mixing bowl, or skipping gloves — introduces variables that can affect your result or irritate skin.
Non-metallic mixing bowl
Metal bowls can react with developer and alter your color formula.
Tint brush or applicator bottle
Ensures even, controlled distribution of color from root to mid-shaft.
Gloves (included in most kits or separate)
Protects skin from staining and irritation from the developer.
Sectioning clips (at least 4)
Keeps hair organized during application so no section is missed or double-processed.
Timer
Tracks processing time precisely — phone timers work perfectly well.
Old towel or cape
Protects clothing and surfaces from drips during application and rinsing.
Petroleum jelly or barrier cream
Applied along the hairline and ears to prevent skin staining.
The Pre-Color Checklist
Work through these items in order. Steps in the preparation and assessment groups are particularly easy to skip under the assumption that they're optional — they are not. Many at-home color problems trace directly back to skipped groundwork.
Hair & Scalp Assessment
Understanding Developer Levels
Strand and Patch Testing
Application Preparation
Timing and Process
At-Home Color Cannot Significantly Lift Dark Hair Safely
If you are trying to go more than two levels lighter from a dark natural or dyed base, at-home box color is not the appropriate tool. Achieving significant lift requires bleach formulations and developer volumes that carry a meaningful risk of severe damage when applied without professional training. This is not a gap that careful technique can bridge — it genuinely requires a licensed colorist.
If you've had a good professional color experience and want to understand why your at-home results don't match, the gap is often technique rather than product. Our article on why salon results differ from at-home ones explains the key differences in more detail.
This article is for general informational purposes only. If you experience scalp irritation, a reaction to hair color products, or have a skin condition affecting your scalp, consult a licensed dermatologist or healthcare professional before proceeding.
The content on this site is for informational purposes only and is not a substitute for professional advice. Always consult a qualified professional for guidance specific to your situation.